
Resistance bands can make strength training more accessible at home, but choosing a set is not as simple as picking the one with the most pieces. Bands differ in shape, material, resistance, handles, anchors, and intended use. A beginner-friendly set should fit your exercises, space, budget, and comfort level—not just promise the greatest resistance.
This home resistance band buying guide for beginners explains the main band styles, how to compare sets, what accessories are useful, and how to start with sensible safety checks. It is a practical shopping guide, not a laboratory test or ranking of specific products. Product features vary, so check the manufacturer’s instructions and return policy before buying.
What is a resistance band?
A resistance band is an elastic or fabric exercise tool that provides force as you stretch, press, or pull against it. Unlike a dumbbell, which has a fixed load, a band’s resistance generally changes as it lengthens. The force you experience also depends on the band’s material, thickness, length, how far you stretch it, and where you hold it. A label such as “light” or “heavy” is therefore not a standardized weight rating across brands.
Bands can support movements such as rows, presses, squats, hip exercises, and mobility drills. They may be used on their own or alongside body-weight exercises and other equipment. The American College of Sports Medicine’s general resistance-training guidance emphasizes choosing exercise that fits a person’s ability and goals and progressing sensibly. A band set is a tool, not a complete program or a substitute for appropriate instruction when you need it.
Choose a band style that matches your workout
Mini loop bands
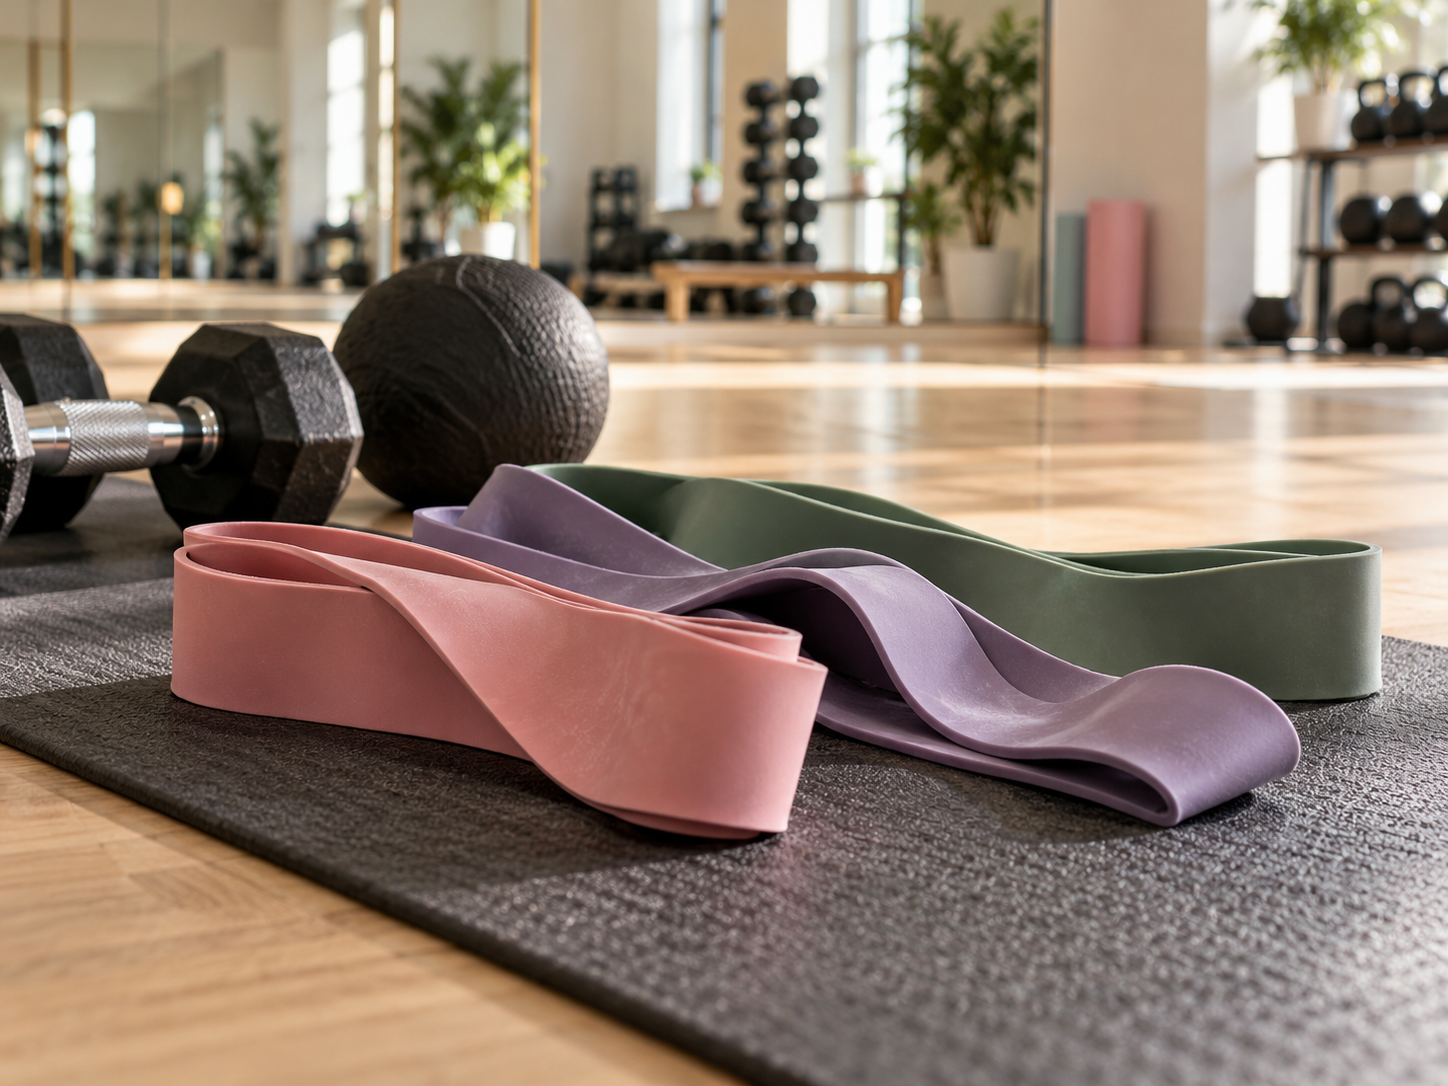
Mini loops are short, closed loops, often made of latex or fabric. They are commonly used around the thighs or ankles for lower-body movements, such as side steps and hip-abduction exercises. Their compact shape makes them easy to store, but the short length limits some upper-body exercises. A narrow loop can roll or pinch, especially if its size or material does not suit your body.
Long loop bands
Long, flat loop bands are continuous loops that can be held, placed around the body, or secured using an appropriate anchor. They are versatile for assisted pull-ups, rows, presses, and stretching, but the loop can be awkward to adjust precisely. Check the band’s length and width against the exercises you intend to do.
Therapy-style flat bands
These are long, flat strips without handles or a closed loop. They can be wrapped around the hands or anchored in suitable ways, making them useful for rehabilitation-style exercises and gentle mobility work. They are usually light and portable, but may require more setup and can be harder to grip for some users. If you are using bands as part of rehabilitation, follow a clinician’s guidance rather than choosing exercises from a shopping page.
Tube bands with handles
Tube bands have a cord-like shape and often come with handles. Some sets include door anchors or ankle straps. Handles may feel more familiar for standing rows, curls, and presses, while the anchor can create more exercise options. However, every connection becomes another part to inspect. Confirm that handles, clips, and anchors are compatible with the tubes and are intended for the way you plan to use them.
Fabric bands
Fabric loops are often chosen for lower-body exercises because they may feel less slippery or roll-prone than some narrow latex loops. They are usually less versatile for full-body pulling and pressing than long bands. Fabric also does not automatically mean better durability: stitching, construction, fit, and care instructions still matter.
How to compare resistance and progression
Beginner sets often include bands in several resistance levels. That can be useful, but color codes and resistance labels differ between manufacturers. Do not assume that a particular color or label means the same thing across brands. Look for clear product information explaining the resistance range or intended use, and treat those descriptions as a guide rather than an exact equivalent to a dumbbell weight.
A set with several manageable levels can help you adjust exercises as your strength and technique develop. The lightest band may still be too challenging for a particular movement, while a stronger band may be unsuitable for another. You can sometimes change the effective resistance by shortening the band, changing your stance, or moving farther from an anchor, but only do so if the setup remains secure and the band is not overstretched.
Before buying, consider the exercises you expect to perform. For a general home routine, a combination of at least a light and a moderate option may be more useful than a single very strong band. If product information is vague, ask the seller for details or choose a product with a clear description and a reasonable return policy. Avoid comparing band resistance numbers as though they were independently verified unless the manufacturer explains how they were measured.
A practical checklist before you buy
- Write down your intended exercises. Decide whether you mainly want lower-body loops, full-body rows and presses, mobility work, or a mixture. The right format follows the exercises, not the size of the accessory bundle.
- Check the band’s dimensions. Length and width affect grip, range of movement, and whether the band can be used comfortably for your height and planned setup. Product listings should provide useful measurements.
- Check materials and sensitivities. Many elastic bands contain latex. If you have a known latex allergy or sensitivity, verify the material directly with the manufacturer and consider a clearly labeled latex-free option. Do not rely on an unclear listing or assume that fabric-covered bands have no latex components.
- Inspect the connections. For tube sets, review how handles and clips attach and whether the anchor is designed for a closed door, a particular door direction, or another setup. An accessory is not safe simply because it is included.
- Look for usable instructions. Clear setup, care, and exercise guidance can help a new user avoid improvising with anchors or overstretching a band. Instructions should explain the product’s limitations and inspection requirements.
- Consider storage and portability. A compact set may be convenient, but a pouch is not a substitute for keeping bands away from heat, sharp edges, and direct sunlight if the manufacturer advises against those conditions.
- Compare total value, not piece count. A large bundle may contain accessories you never use. Compare the quality of relevant components, warranty terms, replacement availability, and return conditions rather than choosing by the number of items.
Accessories: what is useful and what needs care?
Handles can make tube bands easier to hold, especially for exercises that involve repeated pulling. An ankle strap may help with certain lower-body movements. A door anchor can expand exercise options, but it must be installed exactly as instructed. Confirm that the door closes securely and that the anchor cannot slip toward you when tension is applied. Never attach a band to a fragile fixture, an unstable piece of furniture, or a door that could open unexpectedly.
Some sets include carabiners or connectors. Check that they are intended for exercise use, fully closed, and free from damage before each session. Do not substitute improvised hooks or cords. A band that snaps back can strike the user or someone nearby, so keep your face and other people out of the likely recoil path. Protective sleeves may reduce some contact with the band, but they do not make a damaged band safe.
Pros and cons of resistance bands
Potential advantages
- Portable storage: Many bands take up less space than a multi-piece weight set and can be carried in a bag.
- Exercise variety: Different band styles can support pushing, pulling, lower-body work, and mobility exercises.
- Adjustable challenge: Resistance can be varied by changing the band, grip, stance, or movement range, within the product’s safe limits.
- Lower entry barrier: A basic band may be a practical way to begin strength work at home without setting aside a large workout area.
Limitations to consider
- Resistance is less intuitive to measure: Tension changes during a movement, and labels are not standardized between brands.
- Anchoring takes judgment: A poor attachment point can fail, and not every home has a suitable door or anchor location.
- Wear can be difficult to spot: Small cuts, thinning, cracks, or damaged connections can increase the chance of failure.
- Grip and comfort vary: Bands may roll, slip, pinch, or irritate skin depending on design and fit.
- They do not replace every training option: Some users may prefer weights or machines for particular goals, movements, or ways of tracking load.
How to start using a new set
- Read the instructions first. Learn the intended attachment method, maximum stretch guidance, cleaning directions, and any warnings. If the product lacks basic safety information, contact the manufacturer before use.
- Inspect the full band and hardware. Look for cuts, cracks, fraying, thinning, sticky areas, loose seams, bent connectors, and damaged handles. Do not use a band with signs of damage.
- Set up a clear space. Remove objects that could catch the band, keep others out of the recoil path, and use footwear or a stable stance appropriate to the exercise.
- Test the setup gently. With no one in the band’s line of recoil, apply light tension to check that the grip and anchor remain secure. Stop if anything shifts or feels unstable.
- Start with controlled movement. Choose a resistance that lets you move smoothly and maintain your position. Avoid jerking, holding a band near your face, or stretching it beyond the manufacturer’s stated limits.
- Progress gradually. Add difficulty only when you can perform the movement with control. You might change the band or adjust the exercise, but do not increase tension just to make a session feel harder.
For general strength and mobility, a beginner can select a few movements that cover different parts of the body and practice them with careful technique. The NHS provides examples of strength exercises and guidance for getting active; its material can be a useful starting point, but adapt exercises to your ability and any health advice you have received. If you are unsure how to anchor or perform a movement, seek instruction from a qualified professional.
Buying method and source notes
This guide compares product types and decision criteria rather than claiming to have tested or ranked particular sets. To assess a listing, compare its materials, dimensions, resistance descriptions, connector design, instructions, warranty, replacement options, and return terms. Verify important details with the manufacturer, especially latex content and anchor compatibility. Product claims about durability or resistance should be treated as manufacturer claims unless supported by transparent, independent testing.
For exercise context, consult the American College of Sports Medicine’s resistance-training guidance and the NHS’s strength-exercise information. These sources address training principles and exercise participation, not the quality of a specific commercial band. The U.S. Consumer Product Safety Commission is another useful source for general consumer product safety information; follow the warnings supplied with the product you buy.
Frequently asked questions
Are resistance bands suitable for beginners?
They can be, provided the band and exercise are appropriate to the person’s ability and the setup is secure. Begin with controlled movements and light enough resistance to maintain good form. A beginner with an injury, significant pain, or a medical concern should ask a qualified health professional for personalized guidance.
Should I buy a loop band or a tube band with handles?
Choose based on your intended exercises. Mini loops are often useful for lower-body movements; tube bands with handles may be more convenient for standing rows and presses. Long flat bands can offer flexibility for mobility and full-body work but may take practice to grip and set up.
How can I tell whether a band is too strong?
If you cannot control the movement, keep a stable position, or use a comfortable range of motion, reduce resistance or choose an easier variation. Stop if you feel sharp pain, numbness, or unusual symptoms. Resistance labels alone cannot determine what is appropriate for you.
How long do resistance bands last?
There is no reliable lifespan that applies to every band. Use, storage, material, and care all matter. Inspect bands before each session and follow the manufacturer’s replacement and care guidance. Retire a band that is damaged rather than trying to repair it with tape or another improvised fix.
Can I use a resistance band on a door?
Only if the band’s instructions include a compatible door-anchor method. Follow the specified placement and door orientation, confirm the door is secure, and test the setup gently before exercising. Do not assume every door anchor works with every door or band.
Bottom line
The best beginner resistance band set is the one that supports your planned movements, fits your space, offers understandable resistance options, and includes reliable setup and safety information. Prioritize the band style, material, dimensions, and connection quality over a long accessory list. Start conservatively, inspect the equipment, and progress only while you can maintain control.
Safety and information disclaimer: This article is general information, not medical advice or an endorsement of a particular product. Exercise carries risk, and equipment can fail. Follow the manufacturer’s instructions, stop if you experience concerning symptoms, and consult a qualified clinician or fitness professional when your health, injury history, or technique calls for individual guidance.
Leave a Reply